Trézor.io/Start® | Starting Up Your Device - Trézor®
Complete step-by-step guide for Trezor hardware wallet setup, security features, and cryptocurrency management at Start IO Trezor. Learn how to secure your digital assets with …
Trézor.io/Start® | Starting Up Your Device – Trézor®
The Trézor® hardware wallet is one of the most secure ways to store your cryptocurrency offline. Whether you own a Trézor Model One or Trézor Model T, the official starting point for setup is Trézor.io/Start. This ensures you follow the authentic, safe, and up-to-date instructions directly from the manufacturer.
In this guide, we’ll cover everything you need to know about starting up your Trézor device, from unboxing to securing your recovery seed and using the Trezor Suite app.
Why Start at Trézor.io/Start?
When setting up your Trézor device, security is everything. Fake setup guides and phishing websites have tricked users into revealing their private keys. By beginning at the official site, you avoid scams and ensure you download genuine software.
Trézor.io/Start will:
Guide you step-by-step through device initialization
Provide the correct Trezor Suite download for your system
Show important safety warnings and best practices
Step 1: Verify the Packaging
Before connecting your Trézor to any computer, check that the packaging is intact and the security seal has not been tampered with. The seal ensures your device hasn’t been opened or altered during shipping.
If you notice anything suspicious, contact Trezor Support before proceeding.
Step 2: Go to Trézor.io/Start
Type the URL directly into your browser: Trezor.io/Start. Avoid clicking on unverified links from emails or social media.
On the official page, you’ll choose your device model:
Trézor Model One
Trézor Model T
Once selected, the site will display setup instructions for your device.
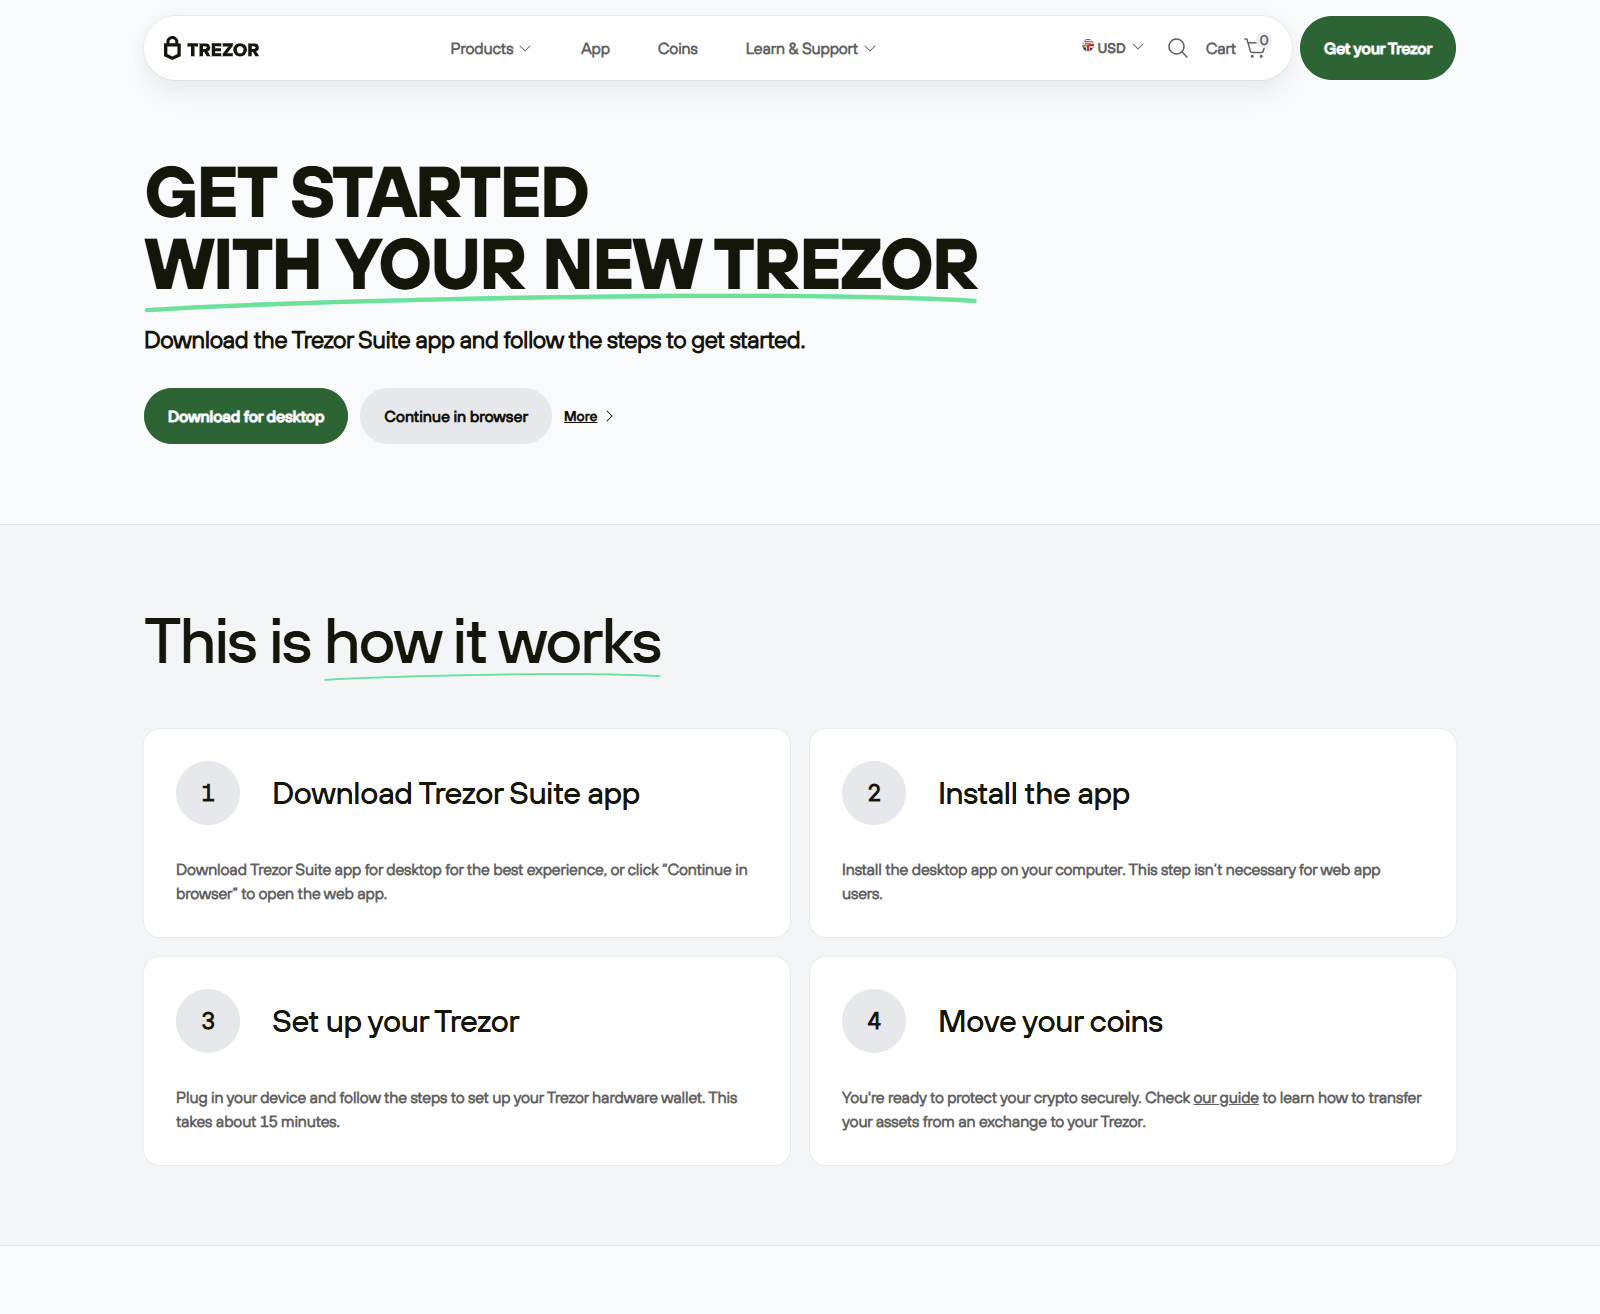
Step 3: Download and Install Trezor Suite
Trezor Suite is the official desktop and web application for managing your crypto with a Trézor wallet. It allows you to send, receive, and store digital assets while ensuring your private keys never leave the device.
To install:
Download Trezor Suite from Trézor.io/Start.
Choose your operating system (Windows, macOS, Linux).
Install the app following the on-screen instructions.
Tip: Only use the version from the official Trezor website to avoid malicious copies.
Step 4: Connect and Initialize Your Device
Plug your Trézor into your computer using the provided USB cable. The Trezor Suite app will detect your device and guide you through initialization.
You’ll have two main options:
Create a new wallet – for first-time users
Recover wallet from seed – if you already have a recovery phrase from another Trézor
For a new wallet setup:
Select “Create a new wallet.”
Follow the prompts to generate your recovery seed.
Step 5: Write Down Your Recovery Seed
Your recovery seed is a sequence of 12, 18, or 24 words shown on your Trézor’s screen. This is the backup to all your funds. If your device is lost or damaged, you can restore your wallet using this seed.
Best practices:
Write it down on paper using the provided recovery card.
Store it in a safe, offline location (safe deposit box, secure safe).
Never take a photo or store it digitally.
If anyone obtains your recovery seed, they can access your funds.
Step 6: Set a Strong PIN
You’ll be prompted to create a PIN code. This protects your device from unauthorized use.
Tips for a strong PIN:
Avoid simple sequences (e.g., 1234 or 0000)
Use the maximum number of digits allowed
Never share your PIN with anyone
Step 7: Install Cryptocurrency Accounts
To store different cryptocurrencies, you need to install their accounts in Trezor Suite. This lets you send, receive, and track specific coins.
Steps:
In Trezor Suite, go to “Accounts.”
Click “Add Account” and choose the cryptocurrency.
Confirm the installation on your device.
Trézor supports Bitcoin, Ethereum, Litecoin, and many other assets.
Step 8: Sending and Receiving Crypto
To receive crypto:
Select the account in Trezor Suite.
Click “Receive” to generate an address.
Verify the address on your Trézor device’s screen.
Share the verified address with the sender.
To send crypto:
Select the account.
Enter the recipient’s address and amount.
Confirm transaction details on your Trézor device.
Step 9: Update Your Device Firmware
Trezor regularly releases firmware updates to improve security and add features.
To update:
Connect your device to Trezor Suite.
Follow the on-screen update instructions.
Keep your recovery seed handy before updating, just in case.
Security Tips for Trézor Users
Always verify URLs before entering sensitive information.
Never share your recovery seed with anyone.
Keep your firmware up to date for maximum protection.
Avoid public Wi-Fi when managing funds.
Physically secure your device to prevent theft.
Troubleshooting and Support
If you run into problems:
Use the help section inside Trezor Suite.
Visit the official Trezor Support Center via Trezor.io.
Avoid third-party “support” offers on social media.
Common issues like device not connecting, app not detecting the wallet, or firmware update errors can often be fixed by using a different USB cable, port, or reinstalling Trezor Suite.
Conclusion